I am going to describe in this article some technical features and approaches that I consider important and use in macrophotography of plants in wild nature. The picture I got during my last photosession in Lehmalahti shows how you can photograph macro on location.
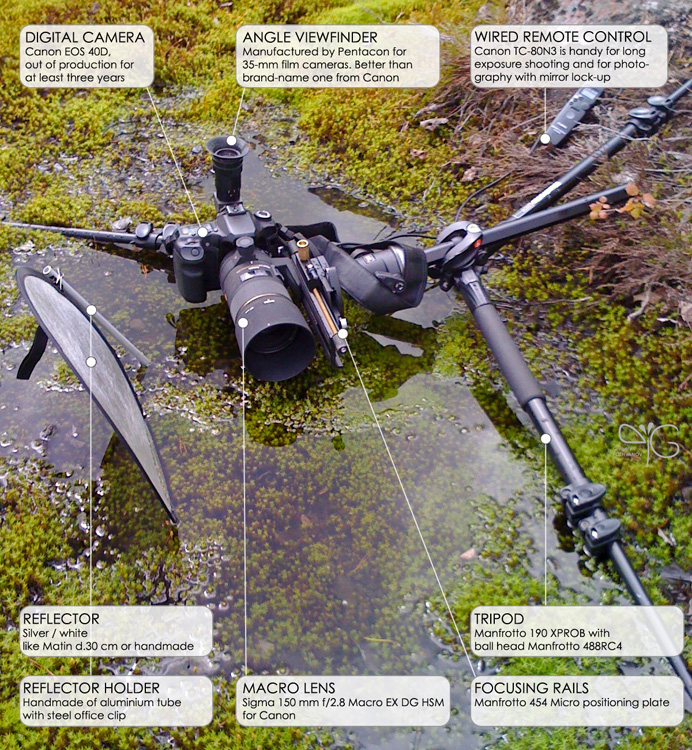
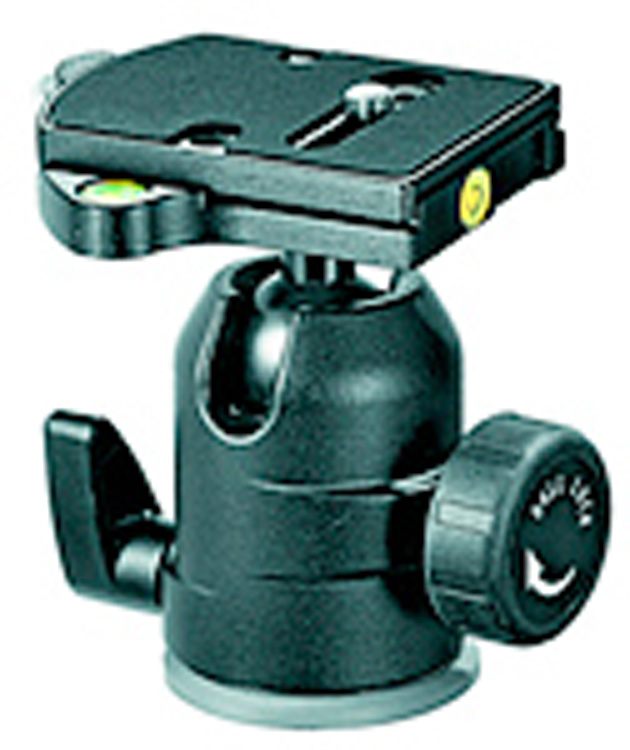
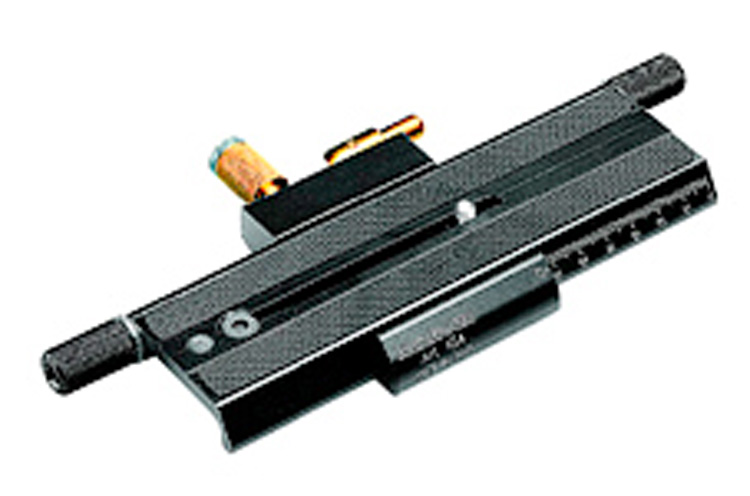
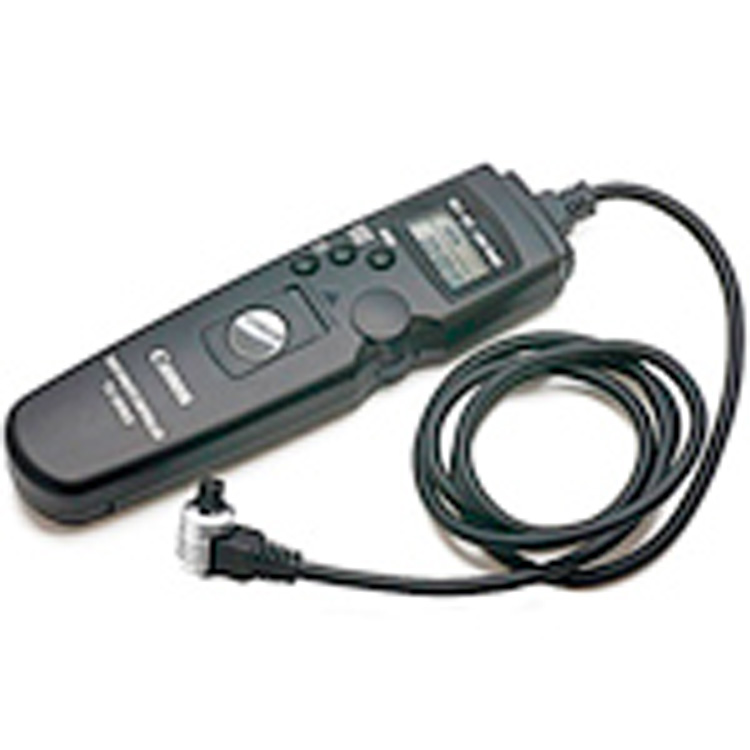
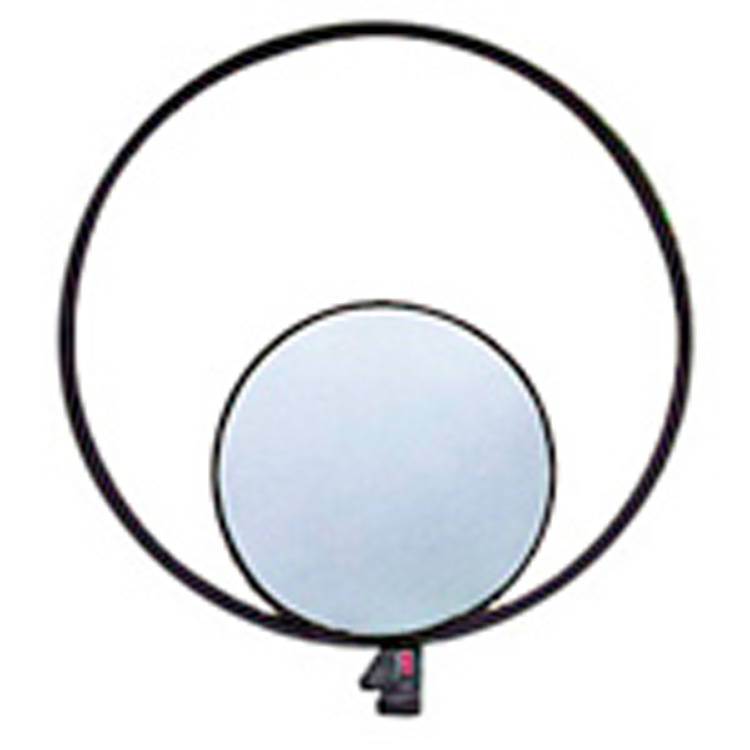
Equipment for plant macrophotography: Canon EOS 40D camera, Sigma 150 mm f/2.8 Macro EX DG HSM telephoto macro lens for Canon, Manfrotto 190 XProB tripod, Manfrotto 488RC4 ball tripod head, Manfrotto 454 focusing rails, Pentacon angle viewfinder, Canon TC80-N3 wired remote control, Matin reflector with aluminium holder. Resin boots, tweezers and a nice mood are beyond the picture frame 🙂
Summary
camera and lens – tripod, tripod head and rails – angle viewfinder and remote control – accessories for lighting setup – work with background: tweezers and scissors – photographing from the ground level: philosophic and technical aspects
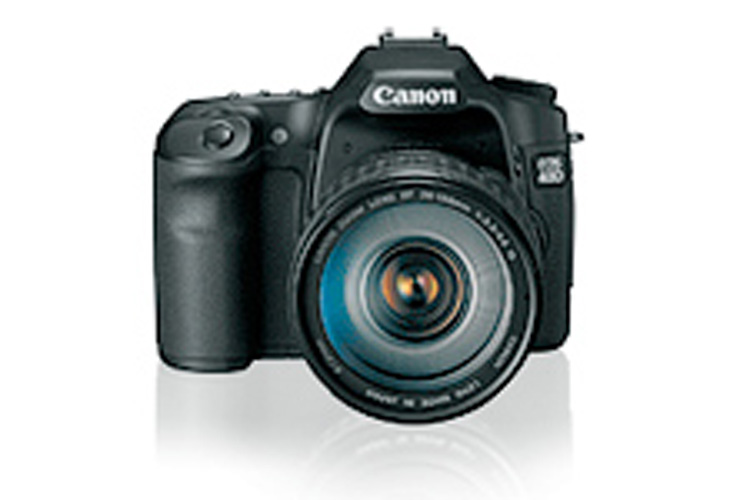
Camera: Canon EOS 40D (out of production for at least three years). Class of the camera is not really important. The main features you should consider are mirror lock-up and live-view mode for precise manual focusing. All that exists in almost any modern digital SLR camera.
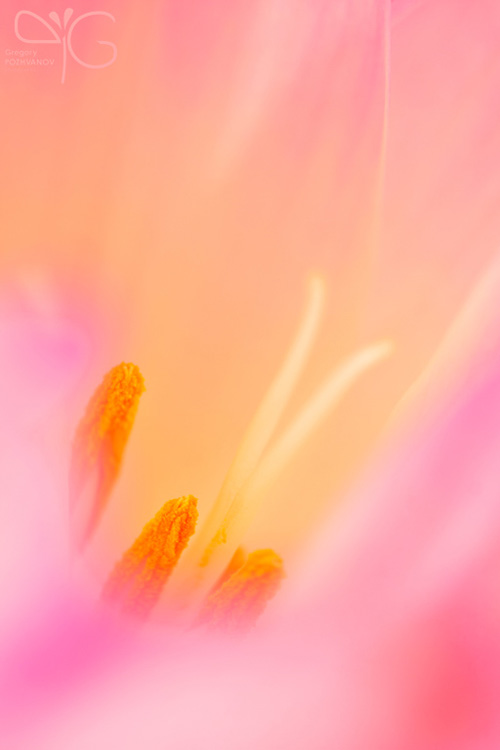
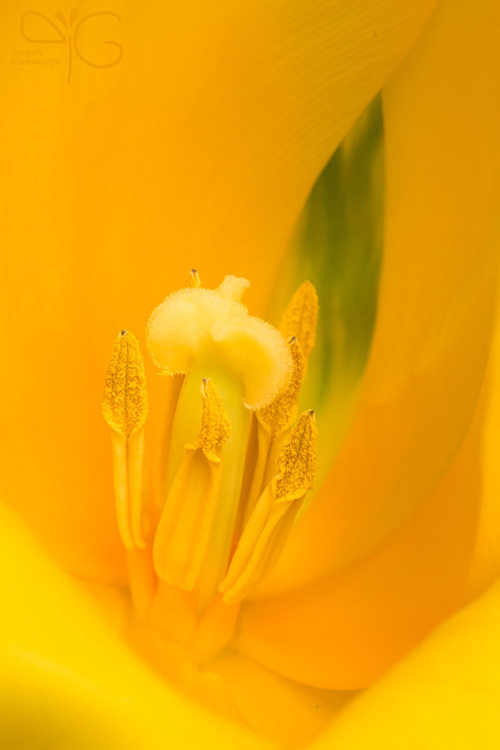
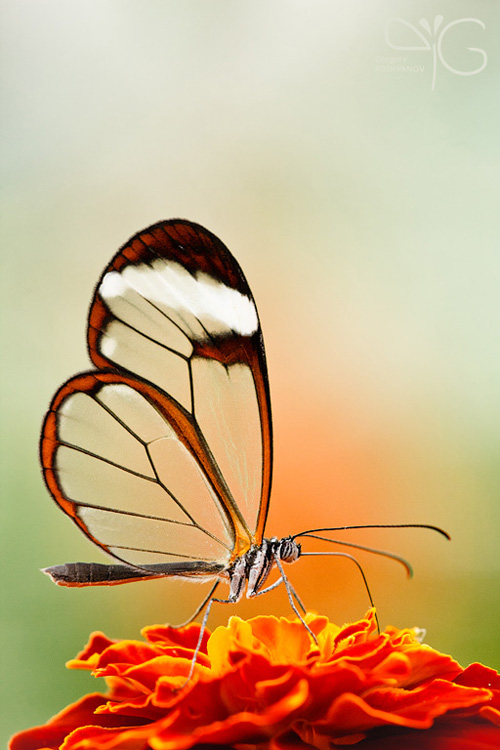
Photographs are taken with Canon EF-S 60 mm f/2.8 Macro USM (1,2) and Sigma 150 mm f/2.8 Macro EX DG HSM (3) macro lenses. When photographing plants, you can freely select what kind of macro lens to use. But when photographing insects, it's better to have a telephoto lens with longer working distance to leave the subject in peace.
Photos: autumn crocus flower, Crocus autumnale (ISO 100, f/5, 1.3", 60 mm); tulip flower (ISO 100, f/11, 2", 60 mm); butterfly with transparent wings, fam. Heliconidae (ISO 500, f/5.6, 1/30", 150 mm).
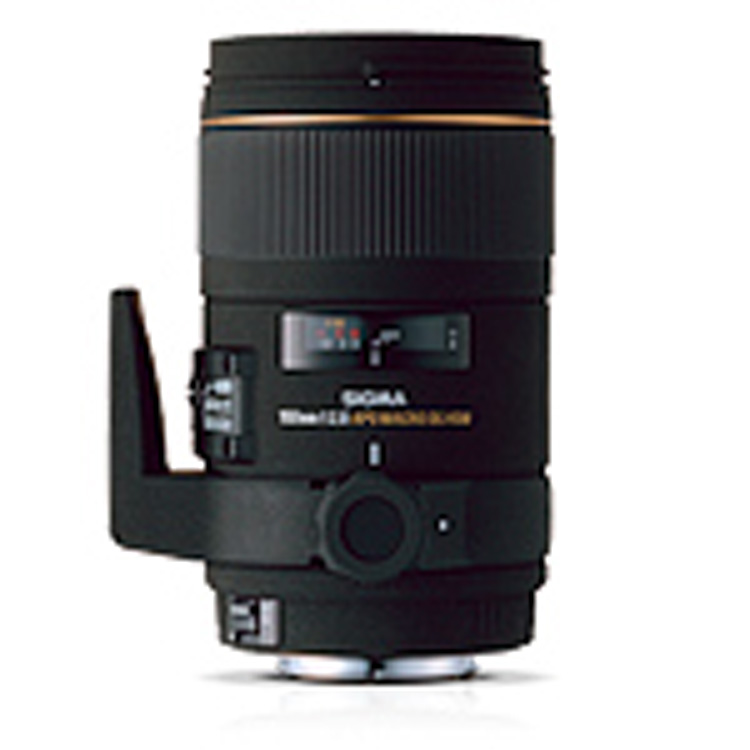
Macro lens: Sigma 150 mm f/2.8 Macro EX DG HSM. It is one of the best lenses for macrophotography considering its price. I have not found any disadvantages of it yet.
Being a telephoto lens, Sigma 150 mm allows the photographer to create a beautifully blurred background and has its working distance long enough not to frighten insects. The lens has dedicated tripod mounting foot that is very useful in shoot – it allows you to easily change from landscape to portrait format without loosing contact with the subject. The frame stays in the center, what is not the case when the camera itself is attached to tripod.
Though I think that for some subjects a shorter-focus lens like Canon EF-S 60 mm f/2.8 Macro USM could be more suitable. This lens is also very good, especially for those who just start their steps in macro. Its angle of view is wider than one of Sigma 150 mm and resembles an attentive look of a human eye. That's why photographs taken with EF-S 60 mm appear as natural as if the viewer kneeled down to look intently at intimate macroobjects. Sigma 150 mm gives a picture with pronounced telephoto perspective.
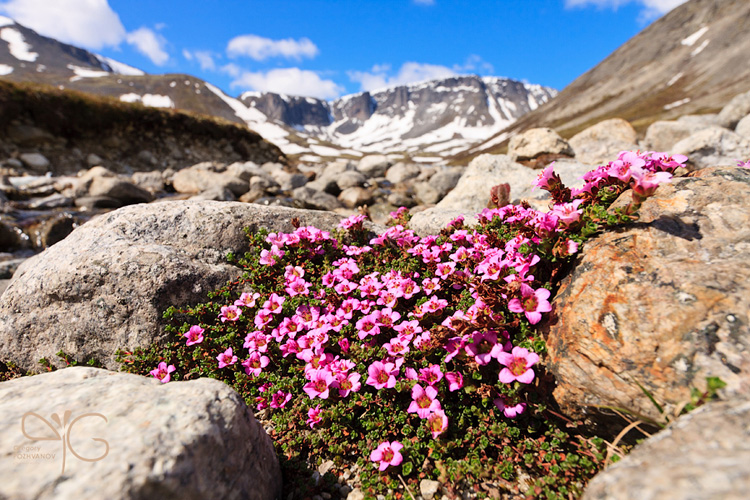
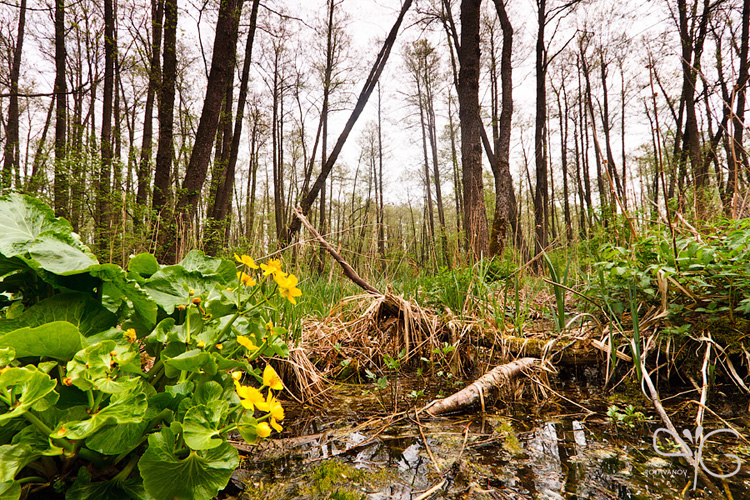
You may conclude that only macro lenses suit the photography of flora, but this is not the rule. Ultra wide angle lens could be helpful to depict a plant in the context of its environment.
Photos: rockfoil plants (Saxifraga sp.) in Hibiny mountains with Kukisvumchorr plateau in the background (ISO 100, f/9, 1/200", 15 mm); flowering Trollius europaeum plant in Stenki-Izgorya, Belogorie reserve (ISO 200, f/9, 1/50", 11 mm).
Tech.: Canon EOS 40D, Canon EF-S 10-22 mm f/2.5-4.5 USM, tripod, angle viewfinder, remote control.
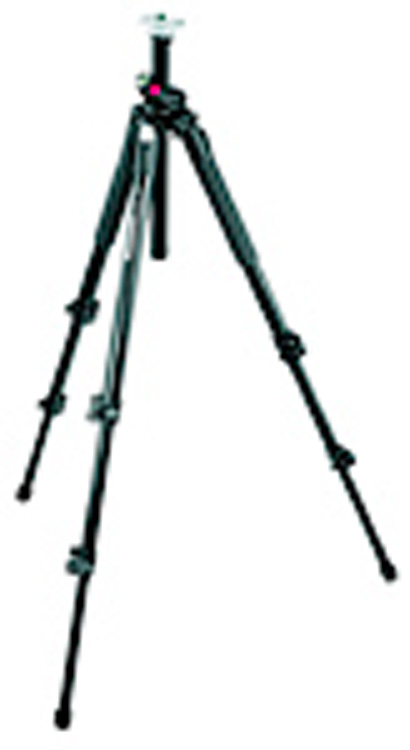
Tripod: Manfrotto 190XProB. This aluminium tripod is professional-grade, sturdy and lightweight at the same time. Its legs can be adjusted with any length and angles, and you may put it almost anywhere – even flat on ground. Center column may be positioned horizontally, means having camera mounting point outside of the tripod center. This enables photography on a slope and at the ground level. The mechanism of center column lock slightly loses tightness after several years. But despite that small drawback this tripod model is quite popular and is still manufactured.
Tripod head: Manfrotto 488RC4 (ball head). Its maximal capacity of 8 kilograms is enough for macrophotography. Personally I do not like three-axis heads because they make me think of which sticking handle to turn instead of minding composition issues. In contrast, it is easy with a ball head: you just loosen the ball, change the camera position and tighten it back. Manfrotto 488 is not the best ball head – get the Markins Q20 ball head if you can afford it (that head is also useful when carrying heavy super telephoto lenses).
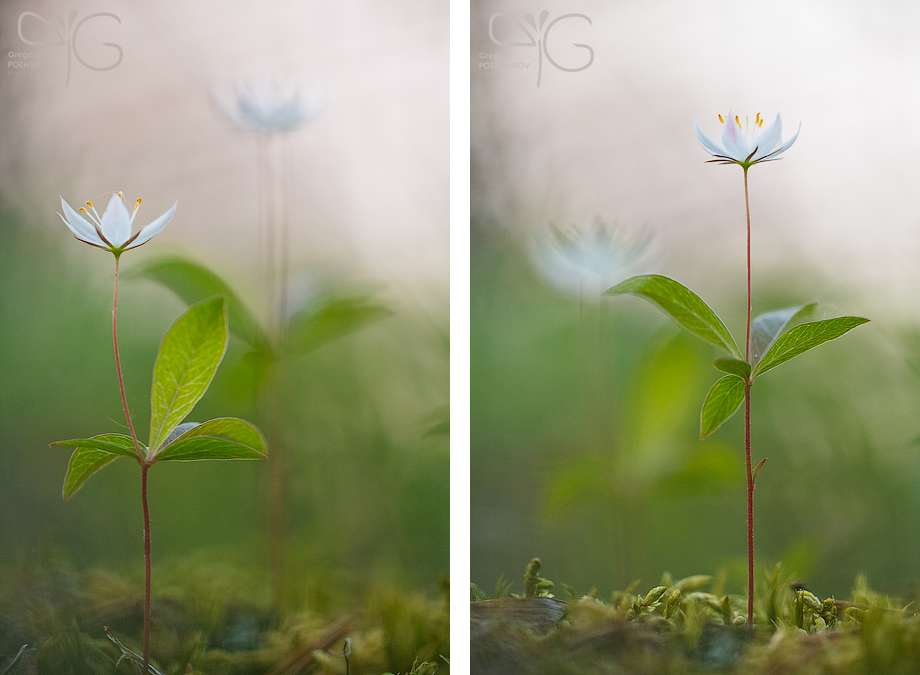
Composition and accents in macrophotography are very much dependent on scale and distance between the lens front and the subject. Compare these two shots of the same scale and viewpoint. Distance to the subject was altered with macro focusing rails.
Photos: two Trientalis europaea plants (ISO 250, f/3.5, 1/40", 150 mm).
Focusing rails: Manfrotto 454 Micro Positioning Plate. Focusing rails are required for accurately changing the distance to the subject (i.e. picture scale) while keeping the viewpoint. Composition in macrophotography can dramatically change even with a few millimeters camera shift towards the subject or backwards.
Again these macro focusing rails are not ideal. Knobs controlling rails shift are located at the opposite ends of rails. Focusing rails by Novoflex are designed more cleverly having control knobs on sides.
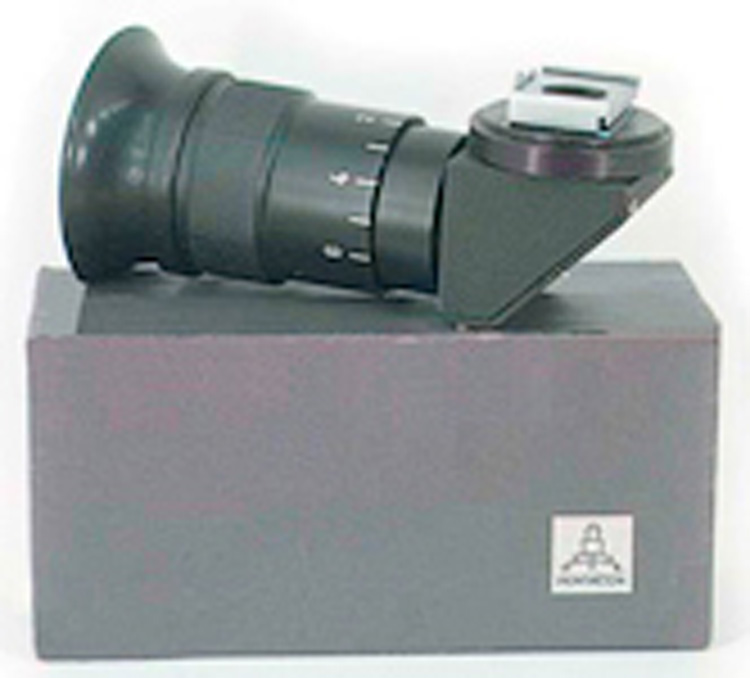
Angle viewfinder: Pentacon/Praktica. It is needed to photograph from the ground level. Of course you may (and should) take photographs when lying on the ground. But it is not possible everywhere (for example, in a bog) without putting your face into mud. There's an angle viewfinder by Canon even capable of zooming a little bit while it is not very practical for focusing through (LiveView is more precise). Angle viewfinder by Pentacon was originally designed for 35 mm film cameras but suits well both sub-frame EOS 40D and full-frame 5D MarkII after “upgrade” with file and pliers. Some advantages of it are solid build in metal case, better hood and more bright view. Of course it is rotatable to suit compositions in portrait and landscape format.
Remote control: wired Canon TC80-N3. You may choose either this brand name or any noname item. RC works as easy as shutter release button does, or offers sophisticated programmable timer. First function is useful when you are photographing with a tripod, finally seeing a butterfly in your frame and going to capture the moment immediately. Instead of waiting for 2 seconds with an infrared remote you get the picture lightning fast. A lot of things can happen these 2 seconds: subtle movements and defocus resulting from breeze or even departure of your winged subject. Also wired RC serves well for mirror lock-up technique allowing the photographer to arrange all things in the frame and wait until the desired moment happens.
Moreover, the wired RC offers numerous combinations of controlled initial pause, interval, duration, and number of exposures. Camera itself is capable of setting the exposure time up to 30 seconds in 1/3 E.V. steps. Everything requiring longer exposure is captured in “Bulb” mode. You have two options: either keep the release button pressed with finger (and shaking the camera) or setting the desired time in seconds, minutes and hours on remote control. All the four modes could be combined at your will. For example, you may set up the camera in twilight for a long-exposure night shot, set the delay to 1 hour (in order to wait for complete darkness) and go to have a rest in a tent. In the morning you would have your picture of long star traces. Although these options are very useful for landscapists, macro photographer eager to depict some development would also be happy with shooting in specific intervals with remote control.
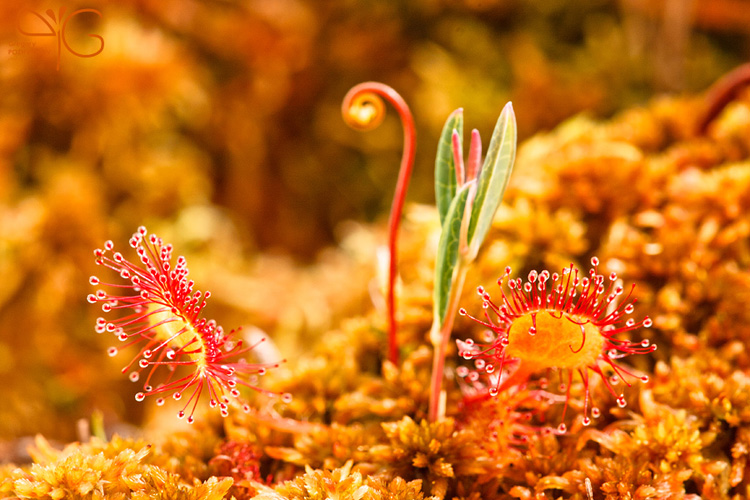
The use of diffuser under sunlight allows you to get a picture with saturated colors and free of harsh highlights and shadows. Photo: round-leaved sundew, Drosera rotundifolia. Tech.: Canon EOS 40D, Sigma 150 mm f/2.8 Macro EX DG HSM, tripod, focusing rails, diffuser, reflector, remote control (ISO 250, f/10, 1/80").
Accessories: reflectors and diffusers are utilized to set up the lighting. Reflector is used to highlight shadowed areas of the subject with reflected light. For the first time I had a super budget saving laminated sandwich of foil and white paper. Later I bought more handy white/silver reflector by Matin. This kind of reflectors is the most suitable for macrophotography. Gold/white reflector could also be an option, but it often gives too warm light. In order to have my hands free I made special holders of aluminium pipes and office clips for my reflectors.
Diffuser is able to avoid the strong and direct lighting of sun. As a result it gives a “softbox” effect while preserving bright and saturated colours.
Work with background: tweezer and scissors. A long tele macro lens itself is not enough to get beautiful background. The good background results from carefully matched view, foreground and back that provide beatiful bokeh all together. Distracting elements have to be removed with tweezer or cut with tweezers unless it was a protected or rare plant species.
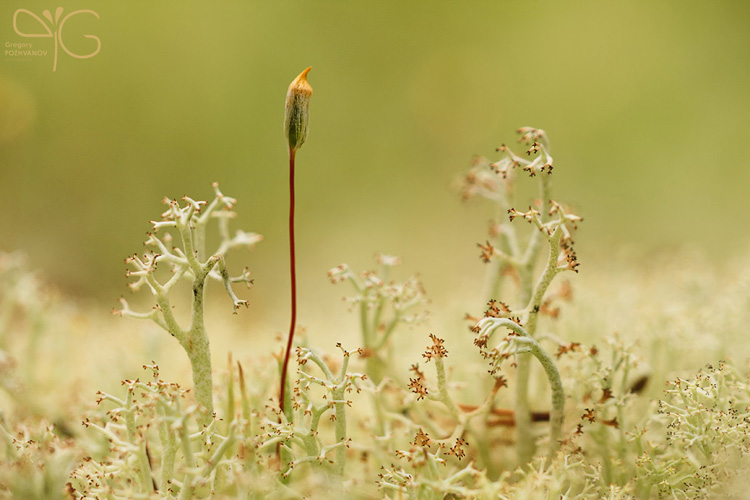
When shooting plants from the ground level you are likely to imagine your scene in a vein of analogy between the microworld and the world of our scale. Shape of lichens and mosses can resemble the shape of trees or palms and their groups look like grove or thicket. Photo: macro-landscape of haircap moss and Stereocaulon lichens.
Tech.: Canon EOS 40D, Sigma 150 mm f/2.8 Macro EX DG HSM, tripod, macro focusing rails, diffuser, reflector, remote control (ISO 100, f/4, 1/80").
Photographing from the ground level.
Philosophical aspect: parity or leniency?
Small dimensions of the objects for macro give the photographer freedom of choice with view, angle and perspective for the final picture. How do you remember the sundew plant? Is it a small sticky red-coloured thing with strange shape? What is a lichen for you? Do you perceive it just as some kind of a grey topsoil or see it as a real forest in miniature? It all depends on your perception of a small object. When you are at the level of your subject, kneeling down or laying on the ground you are able to see the small world from within your subject’s viewpoint. By putting yourself to the subject's place you explore the space of different scale and touch the viewer with your picture, letting her/him to discover an unknown nature.
By the way, do you know why do the most of children pictures taken by parents look so monotonous? It is usually a photo with close-up of child's head thrown back and child's arms and legs going down and getting smaller. That's because parent has been too lasy to sit down and get the level of his child, just the same cause makes a common “style” of macro.
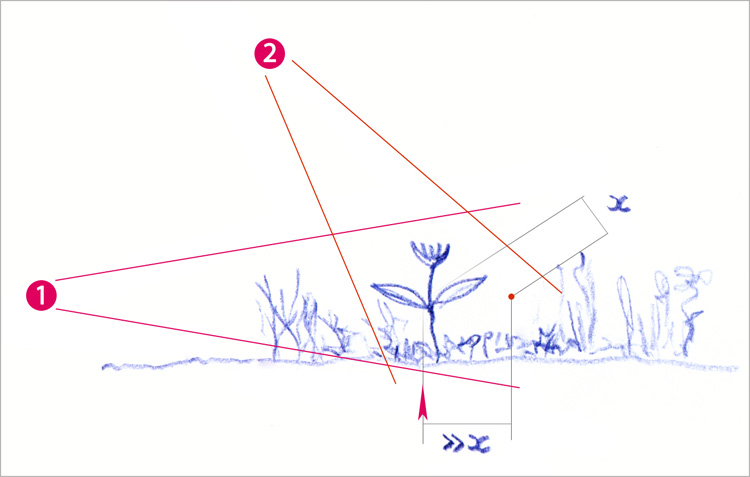
When photographing from top (2) you can not move the background backwards beyond the level of ground, that's why the distance between the focal plane and the objects in background x is somewhat constant. But when photographing from the ground level (1) you can get rid of distracting elements in out of focus area or “move” them further to a larger distance in comparison to (2).
Technical aspect: view and background.
When photographing from top you have a few options for choosing the background. It is usually made of neighbour plants' leaves, cracked soil or (even worse) the mesh of previous-year dry grass. All that is rather close to the focus plane and is not blurred enough. In the opposite, when photographing from the ground level you have freedom of working with foreground and background at different distances to the subject. In general that means having better picture with beautiful bokeh. Thanks to the fact that plants grow upwards the photographer can pay more attention to vertical structures such as stem and inflorescence, lichen thalli or mushroom pedicles. But it is not necessary to reject completely the photographing from top since it is a nice way to take pictures of moss patterns or lichens on rock.
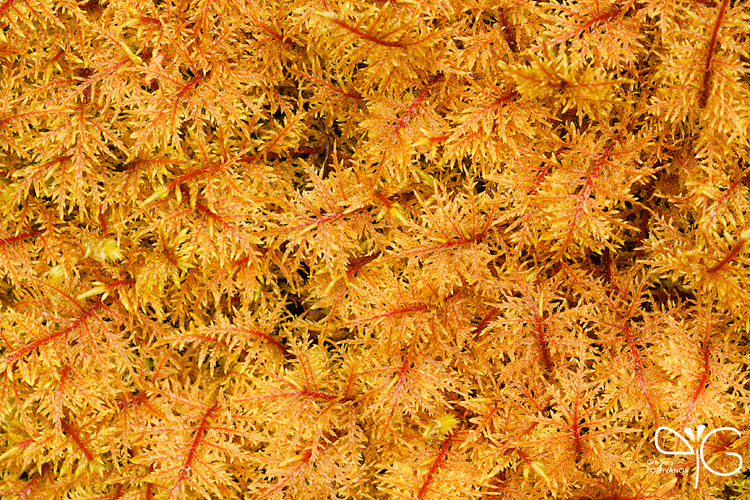
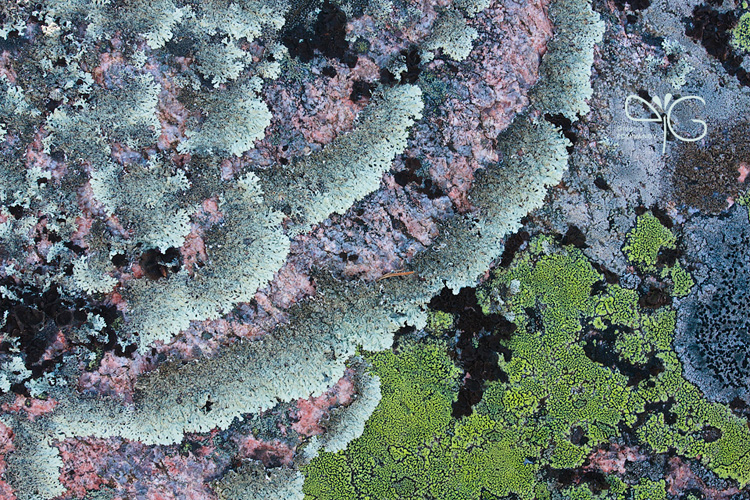
Simple shooting from top is an appropriate technique for photographing patterns and textures on rocks and soil.
Photo: Hylocomium splendens moss (ISO 250, f/10, 1/20", 150 mm) and lichens on the granit surface in Karelia (ISO 200, f/7.1, 1/30", 35 mm).
The author is grateful to Olga Aresheva for reviewing the manuscript translation.
![]() Download the article in PDF (7.1 Mb)
Download the article in PDF (7.1 Mb)
This article is a full translation of my previously published post “Полевая макрофотография растений: техника для съёмки флоры на природе”, © Gregory A. Pozhvanov, 2011.